How to Start Up Your Sprinkler System in the Spring
An important part of any lawn care program is watering, which is why it is vital to properly inspect and start up your underground or automatic sprinkler system in the spring. While we recommend hiring a professional to perform this service, here are some helpful tips and guidelines to aid you in preparing your irrigation system for spring, including:
- Ensure we are past freezing temperatures
- Grab the proper tools and supplies
- Inspect and program your controller
- Set up your backflow device
- Slowly fill the pipes
- Test your irrigation system
1. Ensure We are Past Freezing Temperatures
Before you even start to worry about starting up your lawn sprinkler system, it is important to make sure that there are no freezing temperatures in the future forecast. Typically, mid-late May is the best time to start up and inspect your sprinkler system in Southeast Michigan.
Regular watering will likely not be required before early June. If you start up the system too early, you may need to clear the grassroots from the sprinkler heads a second time and conduct an additional inspection.
2. Grab the Proper Tools and Supplies
Before energizing your system with water and inspecting the components, you must set up the backflow device. Here is a list of some of the tools and supplies you may need:
- Pen and paper to take notes
- A flat-head screwdriver and standard-size channel locks
- A small hand shovel to clear grass from the tops of sprinkler heads
- Teflon tape for any plugs or caps that need to be in place prior to energizing the system with water
- The proper tool required to adjust rotor heads and mister heads
- Batteries for battery-operated controllers or for use as memory backup for older controllers
3. Inspect and Program Your Controller
Make sure the controller has power, (or fresh batteries if it’s a battery-operated device), confirm the proper date and time, and set your desired start time, station/zone run times, and the days you would like to water. You will likely need to make adjustments to the run times and days to water as weather changes throughout the season. Unfortunately, proper watering is not just a set-it-and-forget-it operation.
4. Set up Your Backflow Device for Water Turn On
A sprinkler system should have a pressure vacuum breaker (PVB) that prevents dirty water from flowing back into our drinking supply. The most common devices will have a drain point, two ball valves, and two test/blow-out ports.
- Turn both ball valves to the off position. If the handles are stiff, you may need to use your channel locks.
- Ensure both test ports are in the off position—you will need to use a flat-head screwdriver, as the ports are basically mini ball valves.
- If you have a cap or plug to install at the drain point, be sure to use Teflon tape on the threads and hand-tighten them. If there are any drips after the water is on, you can always give it another turn with your channel locks.
- If a valve or hose bib is installed as a drain point instead of a cap or plug, be sure to have it in the off position.
*Note that some systems utilize an RPZ backflow device or anti-siphon valves. There is a different procedure with these systems and we recommend calling a professional for help.*
5. Slowly Fill the Pipes
Now that you have the PVB prepped and ready for water, you can head to the system's main turn-on/shut-off valve. Most often, the valve will be located in a basement, crawl space, or meter room.
When turning on the valve, slowly move the handle until water begins to flow—try not to open the valve more than a quarter turn. Listen for the water to stop. When the flow stops, you can open the valve the rest of the way.
Now, it’s time to head back to the PVB. You will need to open the lower ball valve slowly but steadily. Once the valve is fully on, water will flow into the main housing, and the float assembly will seat up. Be careful—if you open the valve too fast, you could damage the float assembly or even get injured.
Once you have completed this step, it’s time to open the other, outgoing ball valve. You will need to open this valve in the same manner as the first valve. Turn the handle until water begins to flow, and hold onto the outgoing pipe so you can feel when the watering stops flowing. After the flow has stopped, you can open the valve the rest of the way.
*Note that you may hear a rumbling underground, or some of the heads may jump up as the control valve receives water and begins to seat up*
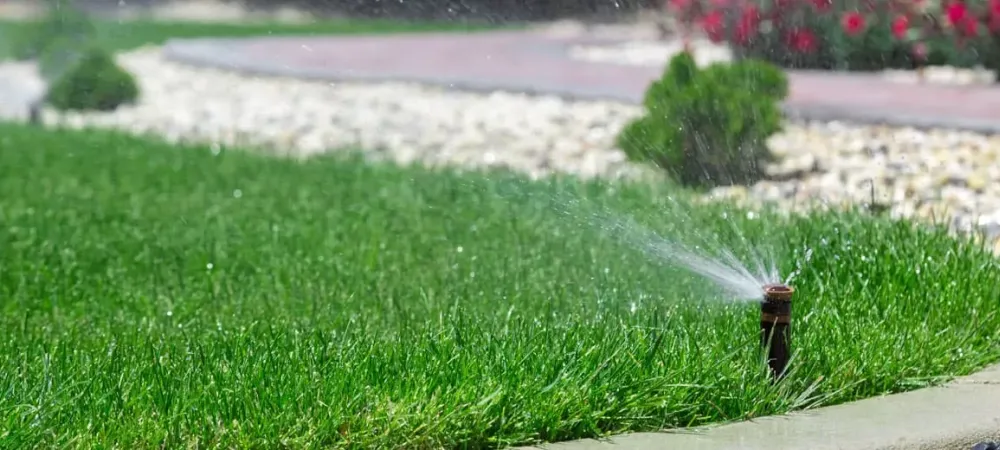
6. Test Your Irrigation System
Now, it’s time to inspect each zone and all sprinkler heads for proper operation and adjustments. Sometimes, it helps to have someone at the controller ready to skip to the next zone after you have completed your inspection.
Start at zone 1—turn on the zone using the manual operation at your controller (or run a test cycle if available), and watch for the heads to begin to purge air and eventually pop up and spray. Some heads may be trapped under new growth. When a soggy spot or puddle begins to form, feel the ground with the palm of your head for a small vibration. This will be a sprinkler head trapped under the turf. Use your small hand shovel or flathead screwdriver to clear the grass until the head pops up.
You should also be checking for any low pressure (low pressure may mean there’s a possible leak or kinked pipe), proper rotation of rotary heads, proper spray patterns of mister heads, and that the zone turns on and off properly when operating it from the controller.
Repeat this process for each zone on your system. As you progress with the inspection, be sure to set zone run times accordingly.
Call the Professionals
If you are having trouble with your irrigation system, noticing leaks, need help addressing issues, or simply don’t have the time for the upkeep, it may be worth calling the professionals for your sprinkler repair and startup.
Grosse Ile Lawn Sprinkler & Fertilization is here to help. Our company does everything from helping you turn on your sprinkler system in the spring and winterize it in the fall, to regular maintenance, installation, and replacement. We are centered in Southeast Michigan and provide sprinkler repair in Wyandotte and the surrounding communities.